Renovating a house is exciting but can feel overwhelming if you’re not sure where to begin. Starting with a clear plan and following the right sequence can make a huge difference. This will also save you from costly mistakes and unnecessary delays.
But what is the best order to follow?
Well, there is no exact blueprint because all projects are not equal and vary. However, based on our professional experience, I have explained a straightforward approach that will take you from start to finish.
Planning and Budgeting
Start by figuring out exactly what you want to achieve with the renovation. Are you looking to
- Update an older home?
- Add more space?
- Add value for resale?
- Improve functionality?
- Update an old look or something else?
Make a list of your main priorities, and set a realistic budget. Your budget should include a 10-15% cushion (extra fund) for unexpected costs.
Write down the specific changes you want, then get estimates for each. You can also get help from a professional contractor.
If you’re a newbie and pretending to DIY everything yourself, do your research properly so you won’t get stuck later.
Quick Tip: Think about your priorities. Are new kitchen appliances or updated bathroom fixtures more important? Prioritizing helps if you need to adjust your budget later.
See a step-by-step guide to planning your home renovation.
Creating a Dust Barrier and Clearing the Area
Before any physical work starts, take steps to protect areas that aren’t part of the renovation. Using zip walls, sealing off air vents, and putting the home under “negative pressure” (with a fan pulling dust out) can make a huge difference.
This step isn’t glamorous, but it will keep your living space cleaner and make for an easier cleanup later.
On past projects, I’ve found that setting up dust barriers right away saves many headaches. You may not realize how much dust can spread until it’s everywhere!
Demolition: Clearing Out the Old

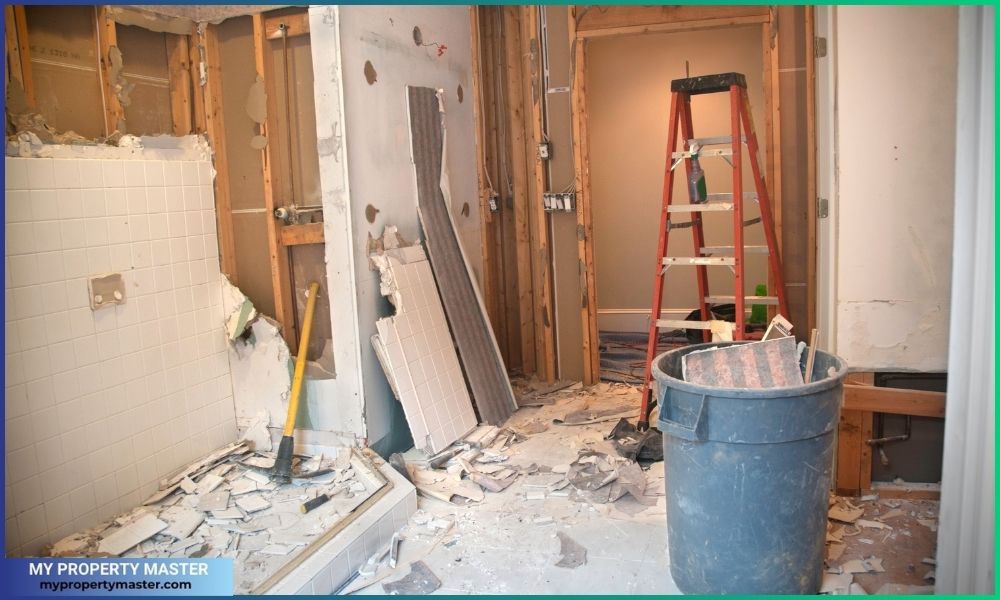
Demolition is where the action starts. This step involves tearing down walls, removing old fixtures, and making space for new installations.
Whether you’re removing cabinets, old flooring, or knocking down non-load-bearing walls, clearing the old makes way for the new. Be mindful of what’s behind the walls—plumbing, wiring, and any support beams that need preserving.
See how much does it cost to demolish a home?
Structural Work and Framing
After demolition, the next step is any structural work. Framing is essential if you move walls, add windows, or change the layout. This framing is also the stage for any inside-the-wall work—installing new plumbing pipes, electrical wiring, or HVAC systems.
All of this needs to happen before walls go up to ensure everything is safe and meets code requirements.
Expert Insight: A walkthrough with your contractor at this point is valuable to make sure outlets, plumbing fixtures, and other elements are exactly where you want them.
Read also: How to know if a renovation is worth it?
Inspections: Getting the Green Light

Once rough work is done, an inspection is essential. Most municipalities require inspections at different stages, and they help ensure everything meets local building codes.
Your contractor will coordinate these inspections, which may cover plumbing, electrical, and structural elements.
Read also: What is a home inspection? (Complete checklist)
Insulation and Drywall Installation
With rough inspections complete, it’s time to insulate and install drywall. For the insulation, choose materials that suit your home’s climate, such as spray foam, fiberglass, mineral wool, etc.
Next comes drywall, which professionals will tape, mud, and sand to achieve a smooth, even finish.
Installing Major Fixtures and Cabinets

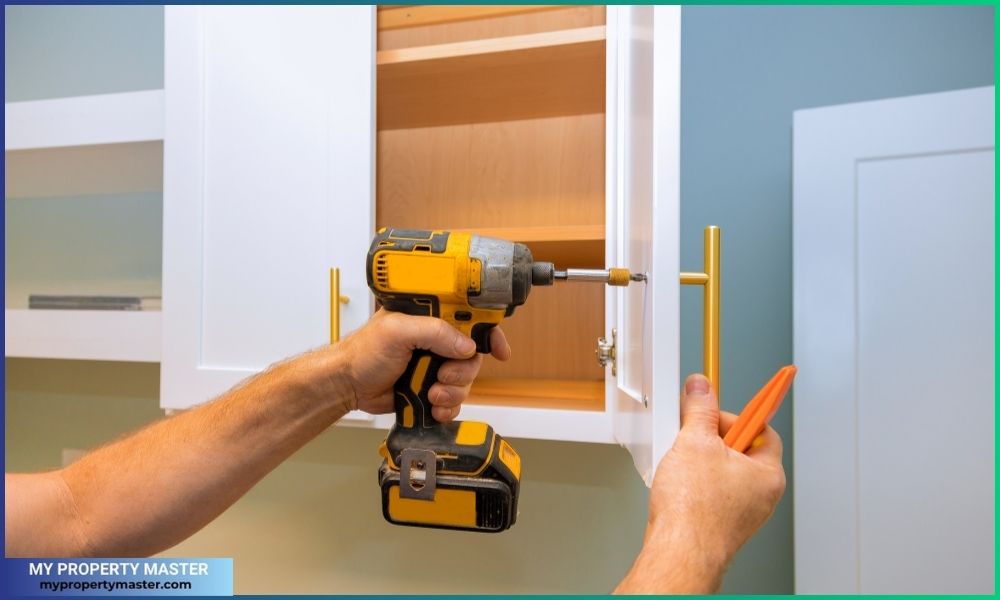
Once the drywall is up, it’s safe to start installing fixtures like cabinets, built-in shelves, or vanities in bathrooms. These additions bring the renovation to life and give shape to the new layout.
In the kitchen, for instance, you’ll want cabinets in place before countertops are measured and installed so everything fits perfectly.
Tip for the DIY-minded: If you’re installing cabinets yourself, always ensure they’re level and securely anchored. Cabinet installation can be tricky, and a professional’s touch can make all the difference.
Read also: When to DIY and when to hire a pro for home renovation projects
Countertops, Tiling, and Flooring
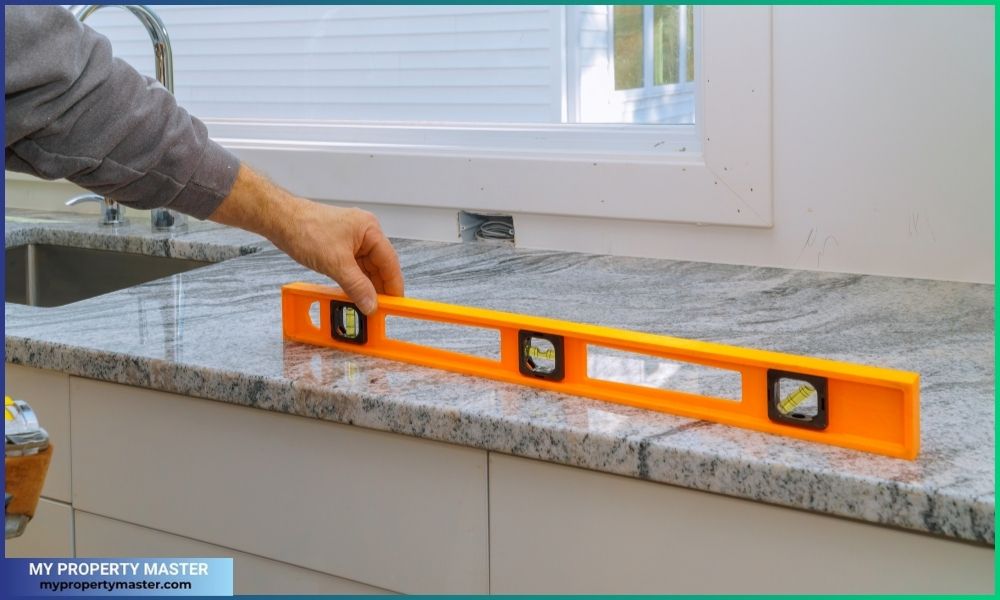
Now that cabinetry is in place, you can install countertops at this point. From granite to quartz, choose a material that complements your space and lifestyle. Countertops should be in before tiling begins, as they set the level for any backsplash work.

Flooring comes last in this sequence. Installing flooring at this stage keeps it safe from the heavy foot traffic and potential scratches that come from other people working in the area.
Pro Insight: Sometimes floors become damaged during renovations, so it’s best to do them at the end.
Read also: The average cost of kitchen renovation in Rhode Island
Painting and Final Touch-Ups
Painting is often one of the final interior steps. Start with the ceiling, move to the walls, and finish with the trim (door and window frames) for the best results. A fresh coat of paint combines everything, making the space feel complete.
Touch-ups are equally important at this stage. From caulking gaps to adjusting cabinet doors, these final details are what give your renovation that polished and professional look. Painters may also come back after completing all other work.
Read also: The impact of a well-renovated home on selling potential
Final Cleaning and Walkthrough
The last major step is a thorough cleaning from top to bottom. Dust, debris, and stray nails or screws can accumulate in surprising places. So, a detailed cleanup is a must.
Many contractors include this as part of the service, but even if you’re DIY-ing, a professional cleaning can be a game-changer.
A post-renovation walkthrough with your contractor is also vital to ensure you’re happy with the results. This is the time to bring up any questions, check that all systems are functioning, and make sure you’re completely satisfied.
Warranty: Once everything checks out, the warranty period on the work begins, usually covering you for five years.
Read also: Top home renovations that increase property value
Commonly asked questions about this topic
The priciest parts are structural changes, kitchen remodels, bathrooms, and roofing. Kitchens and bathrooms often involve costly materials and appliances, while structural work demands skilled labor.
It often covers electrical and plumbing updates, new flooring, paint, kitchen and bathroom remodels, and sometimes structural changes like walls or layout modifications.
Yes, replacing flooring is part of a renovation, as it updates the look and functionality of a home, often adding value.
Yes, for a mid-sized home, 100k can cover significant upgrades like kitchen and bathroom remodels, flooring, and some structural changes, depending on location and materials.
Avoid renovating if the house has severe structural issues that exceed the renovation budget, if resale won’t cover costs, or if you’re in a declining real estate market.
A full home renovation can take 3 to 12 months, depending on the scope, permits, contractor availability, and unexpected delays.
Kitchen and bathroom remodeling, updated siding, adding energy-efficient features, and improving curb appeal add the most value.
Consider renovating every 10–15 years. If you’re in a tight budget, your main focus should be on high-traffic areas first, such as kitchen, bathroom, etc. After then you can update exterior elements and rest of the part of your home.
Conclusion
Each step of this renovation process has a purpose, and following them in this order will give you the best outcome. A renovation is a big journey, but the results will be worth every effort with a solid plan, a well-organized process, and professionals where you need them.


